
In my last two posts about taking better project photography, we discussed the impact the background can make (and it can make a big difference — if you haven’t read those posts, click here and here). But in this post, I’m going to give you the one tip that — hands down — goes the furthest to making your project images look spectacular.
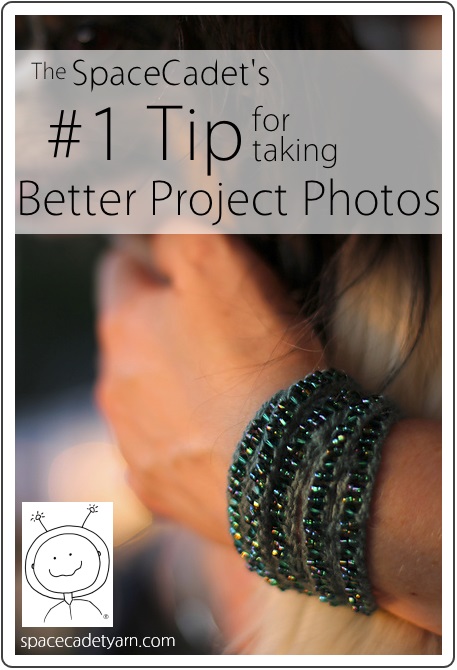
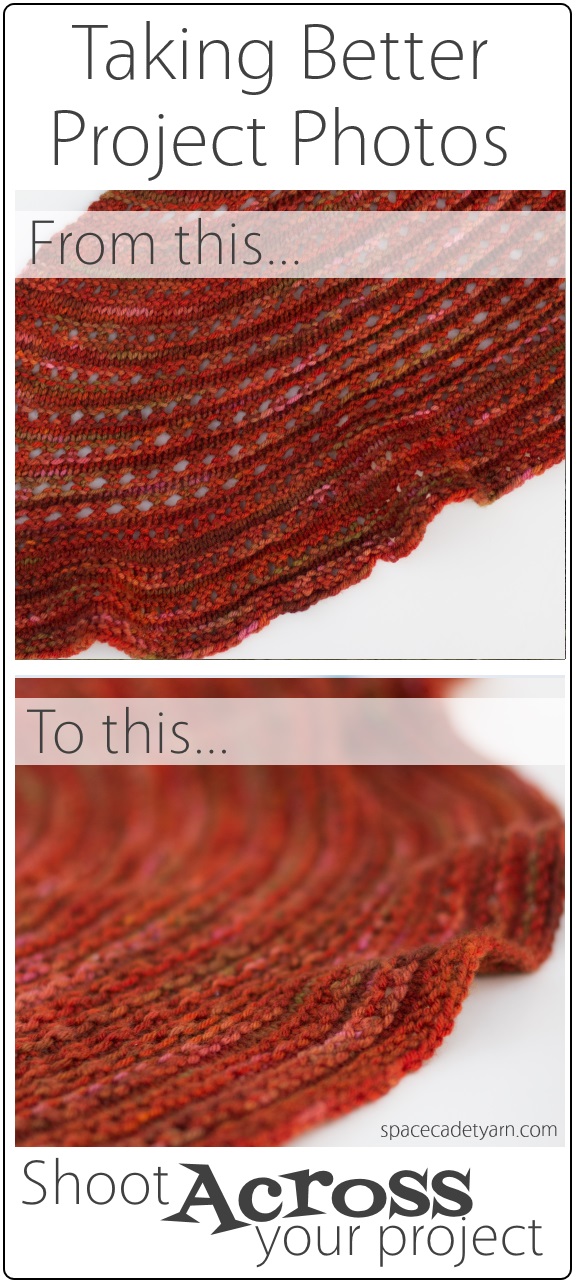
Shoot Across Your Project
Ok, what do I mean by that? Well, first of all, we’re talking about detail shots here, things that are close up, and not overall portraits. So, this is when you’re trying to capture the details of the stitchwork, the edging, or the flecks of colour in the yarn.
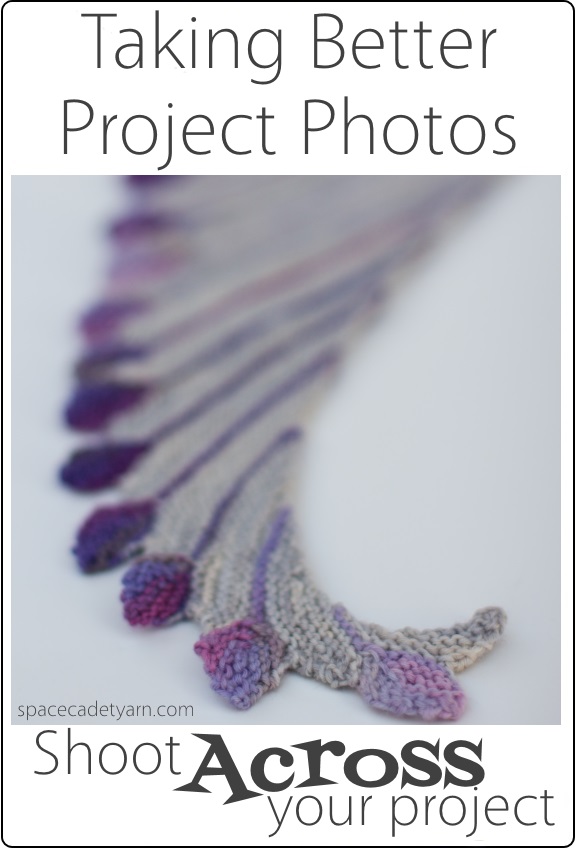
You could photograph any of these by holding your camera head-on to your project and just taking a picture but, even if you come in close, that image is going to end up looking flat and… well, kind of boring. Look at this picture of my Leftie, knit in Oriana in Sliver and a set of SpaceCadet Mini-Skeins. The picture looks nice enough but… well, just that: nice enough.

But then I took another photo of it and, this time, instead of hold my camera straight on so the project was flat to the camera, I got down low and took the shot across my knitting. See how different this image feels? Don’t you feel like you’re right there next to shawl? Almost as if you’re somehow falling into the picture? Even though this isn’t a very good image (I took under heavy cloud cover just as the sky was about to dump a bunch of snow on us), changing my angle and shooting across my Leftie really brings the project to life.
The Rules for Shooting Low and Close
So far, so simple, but there are a tips that will help ensure your low and close images come out as amazing as you hope they will.
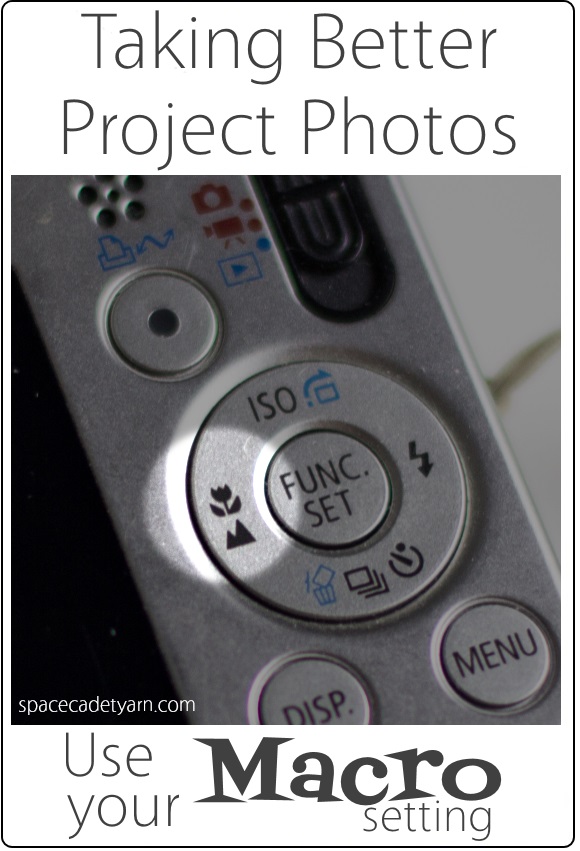
Tip #1 — Use Your Macro Setting
If you’re using a regular camera, be it a point-and-shoot or a DSLR, you’ll most likely have a macro setting (look for a little flower icon on your setting selector). Choosing this will allow your camera to focus in much closer than your other settings, to really pick up the smallest details. And it will blur out the background, to help the viewer’s eye to gravitate to exactly the details you want them to spot first.
If you’re using a phone-camera, it can be a little more complicated, because there’s usually no built-in macro setting. But you’ll get the best results if you remember to keep your camera low to the object you’re photographing, shoot across your project rather than directly at it and, most importantly, remember to touch the screen to tell the camera exactly where you want it to focus. Doing those things will go a long way to getting a macro-like image.
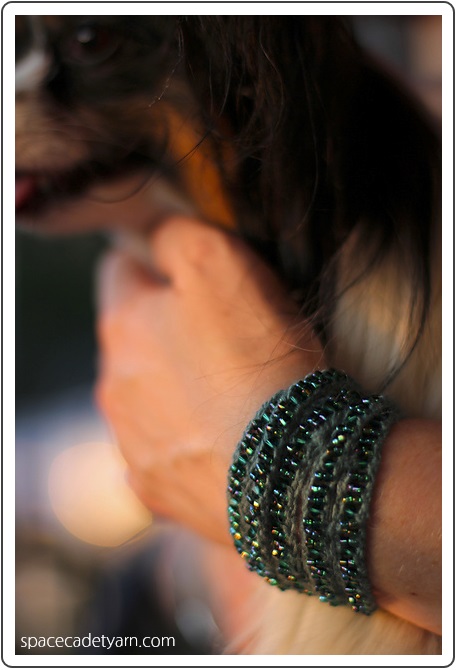
Tip #2 — Get Down, Baby!
Really, seriously, there is no substitute for this. Whether your object is on a table or on the floor, get down to that same level so you can truly shoot across it. Most likely you will not look elegant doing it — I swear my neighbours must think I have a foot fetish for how often I’ve been flat to the ground taking close-ups of socks — but your pictures will look so much better for your potentially ungainly efforts!
Look at this image of Laura Nelkin’s Ribband bracelet, for instance. It wouldn’t have looked nearly as good if I’d shot it from standing, looking down and having the ground and pair of feet for a background. Instead, by getting right down, I was able to catch the light in the beads, and create that falling-into-the-picture feeling again.
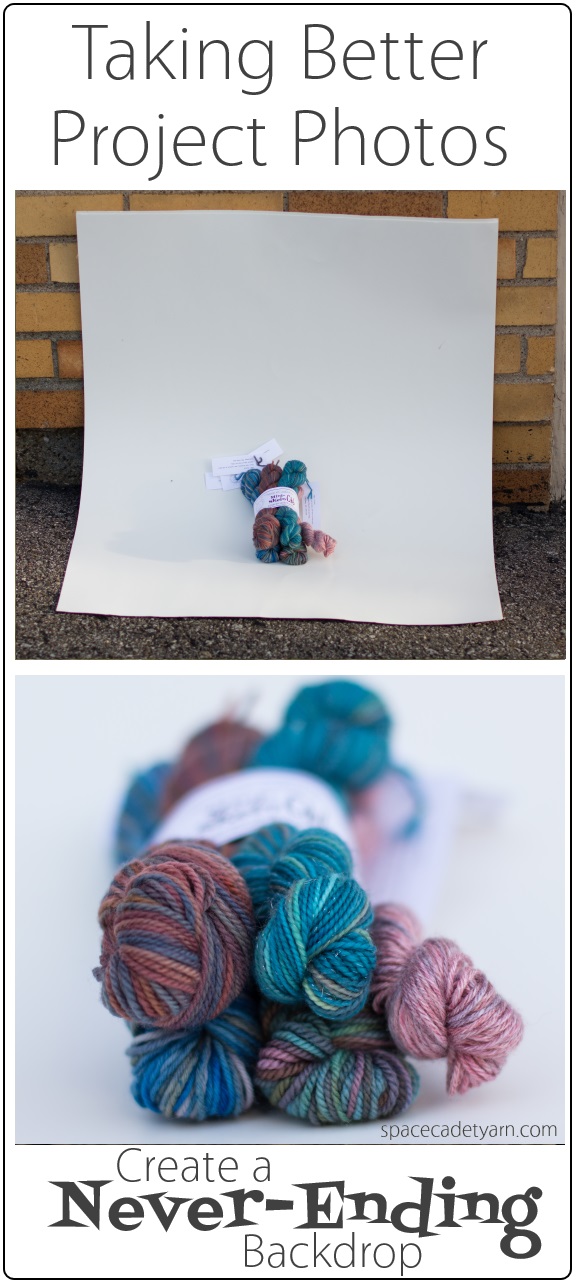
Tip #3 — Use a Never-Ending Backdrop
When you are down low to take pictures across your project, your camera is going to capture not only what your project is sitting on but also whatever is behind it. There are a lot of backgrounds that can look really wonderful when they are blurred out by a macro lens but, if you want to keep it simple, just choose a never-ending backdrop.
What do I mean by “never-ending”? It’s the background you always see models standing on in magazines, where it’s one continuous colour and you can’t tell where the “floor” ends and the “wall” begins. It looks really fancy, but it couldn’t be easier to create for your knitting or crochet projects… just grab a 75¢ piece of posterboard and prop it up against a wall. Now when you get down low to take your photo, the camera will capture the posterboard running under your project and seamlessly up behind it as well. There will be nothing to distract the viewer’s eye and so all the focus will be on your beautiful project.
Now It’s Your Turn!
So there you have it — a very simple tip that can vastly improve the look of your project photos. And now it’s over to you: grab your camera and your most recent project and experiment with shooting images at different angles. And before you know it, you’ll be changing your photos from something “good enough” to something smashing. Check out the difference in my photos of Kate Atherley’s Sick Day Shawl…
And hey, when you do grab your camera and start playing, please come over to the SpaceCadet group on Ravelry and share those images with us. We’d love to see how your photography changes when you get down with your project!
Thanks for the photo tips -Just when I’m trying to set up an Etsy shop to sell my quilts– It’s a little frustrating cause I’m not a computer person and I’m not a photogragher– I just want to be in my studio creating— so I’m grateful for any tips– Thank you ! L.
I really appreciate the help you’re giving me on my photo skills. While I usually use my phone for project pics, I can still apply your info. Instead of your blog just telling me what you want me to buy – learning useful things is GGGGREAT! (Said as Tony the Tiger)
You have opened up my world. Thank you and now I want and need to redo every picture on my Rav project page.