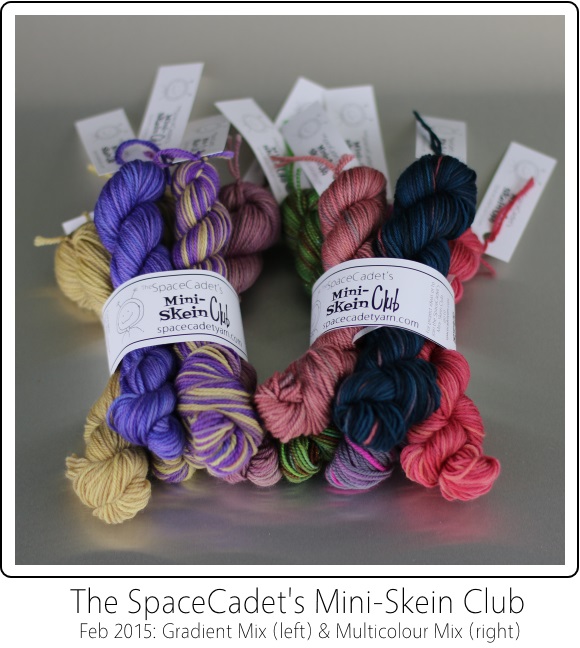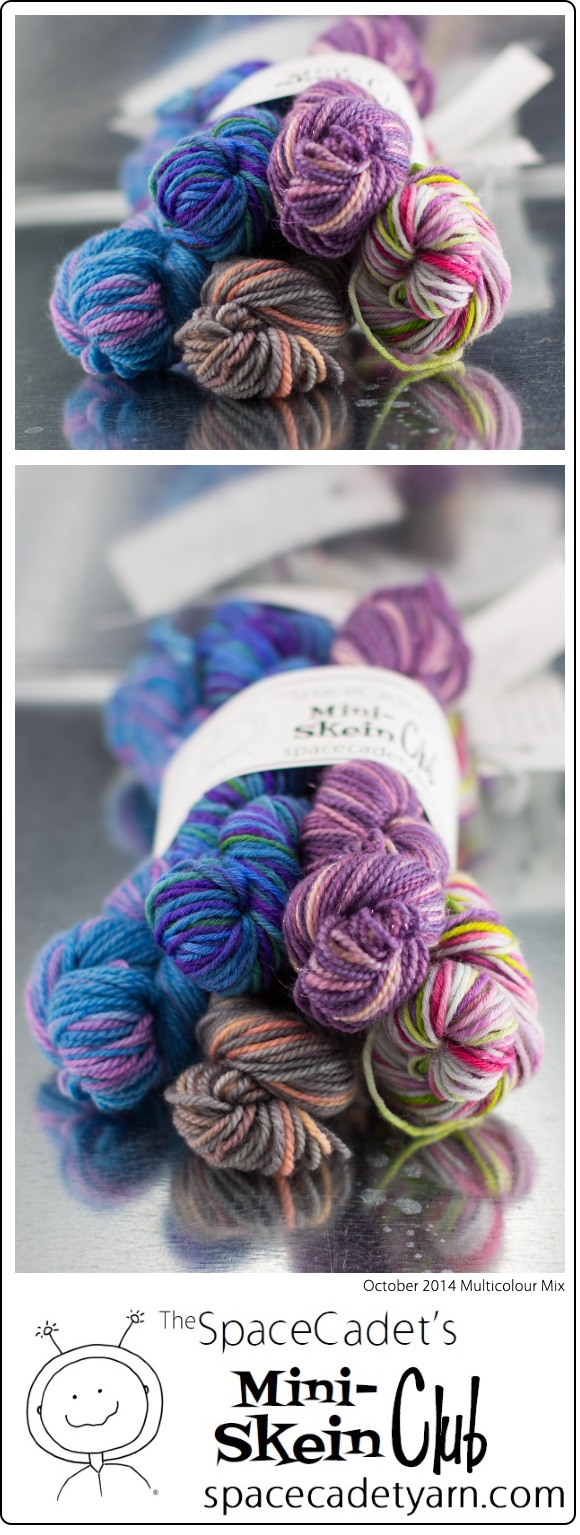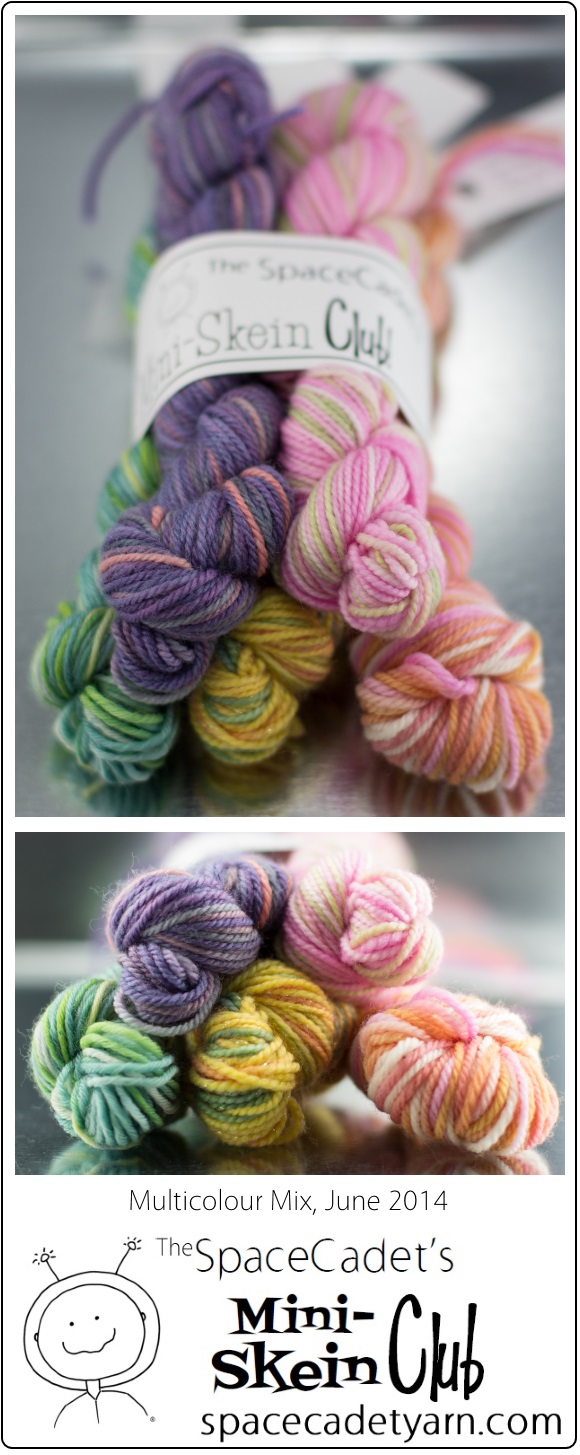
A customer recently emailed to tell us that she loved all our Mini-Skein bundles but wanted to tell us that “some months they are outstanding”. We put so much enthusiasm into each month’s dyeing that I just can’t tell you how much that meant to me. And I have to say, I think March’s Mini-Skeins fall right into that category of “outstanding”. Check them out:
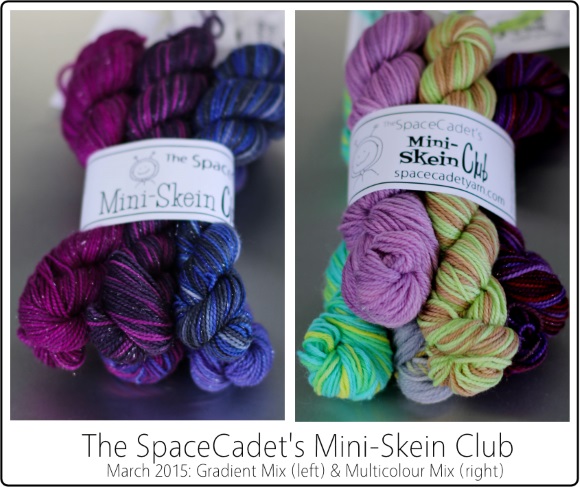
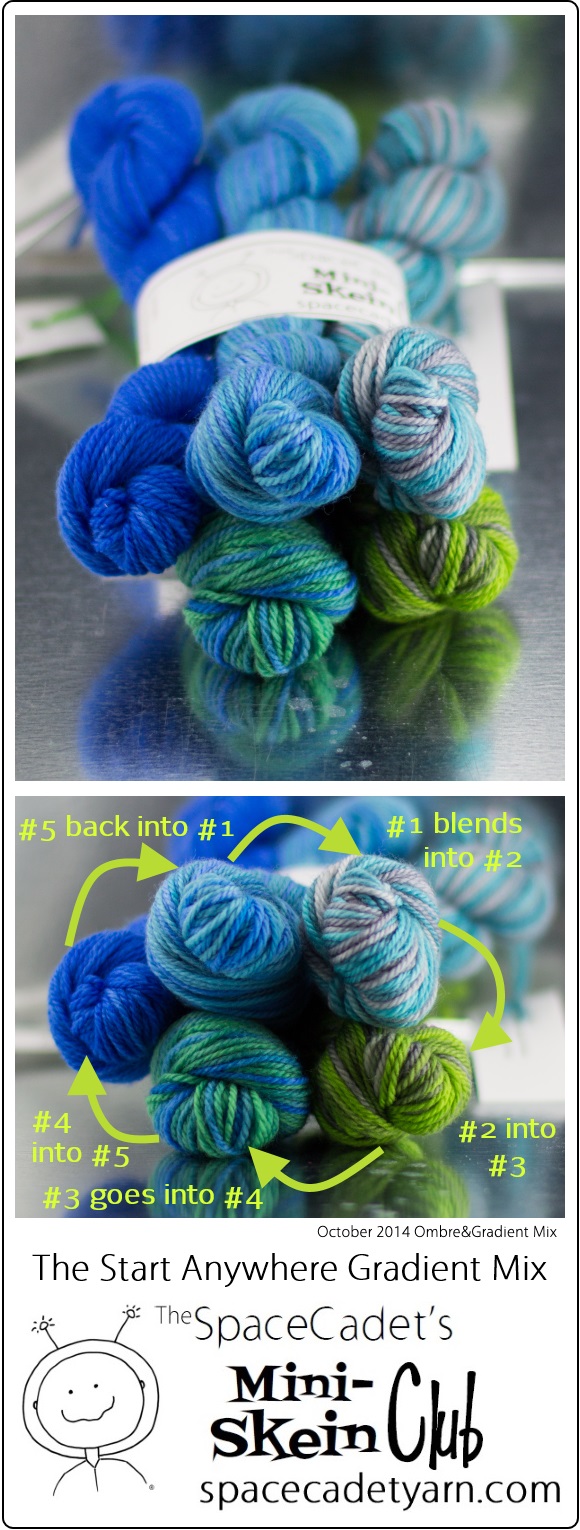
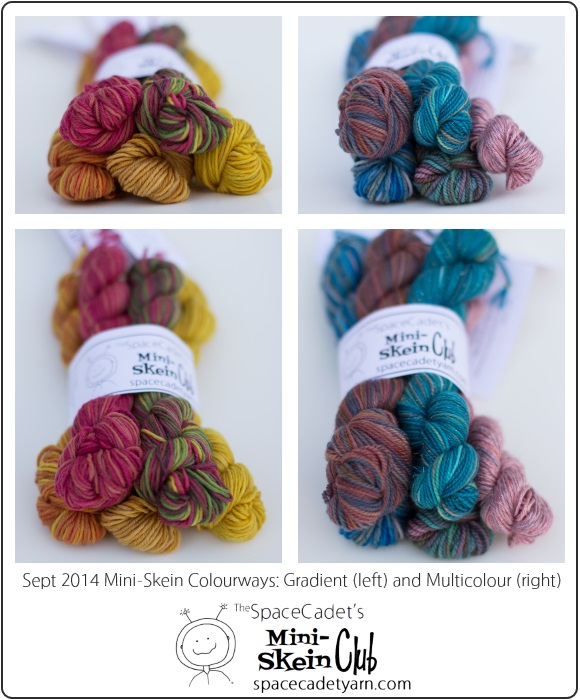
Are you drooling over any of them? I am particularly drawn to the Gradient Mix this month (on the left). There is just something about those intense jewel tones mixed with subtle grays and blacks that get my fingers itching to cast on! And if you’re feeling the same, here’s some great news…
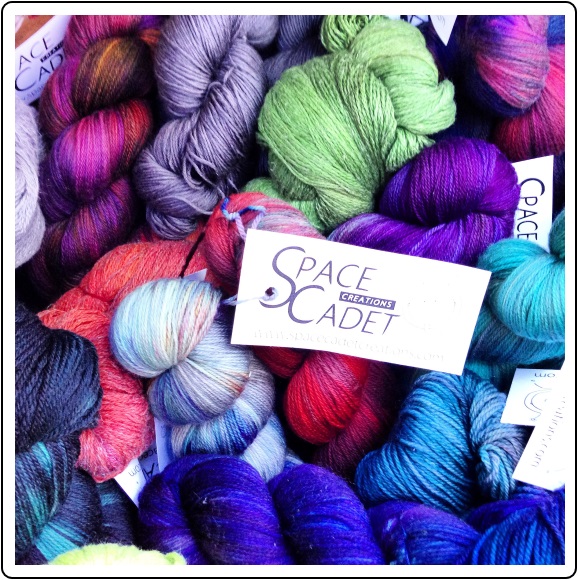
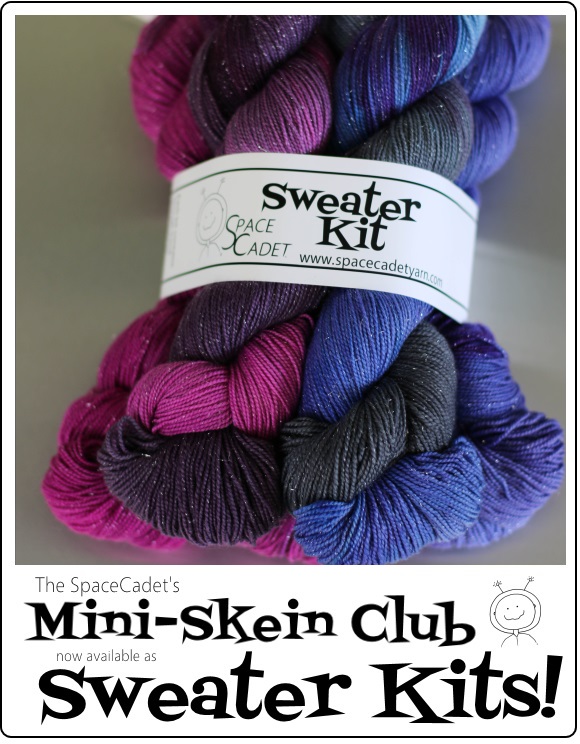
Full Skeins and Sweater Kits of SpaceCadet® ‘s March Mini-Skein Colourways!
Each month, we pick our favourite colourways from both the Multicolour and Gradient Mixes, and offer them to you as full skeins and sweater kits on a selection of SpaceCadet bases. Some are exclusive to the Club members and some available to everyone, so you can order one skein or a sweater’s quantity — it’s up to you — to make a gorgeous, full-sized project with those fantastic Mini-Skein colourways!
Ready to see this month’s full skein picks? Here they are!
Blueshift — from the Gradient Mix
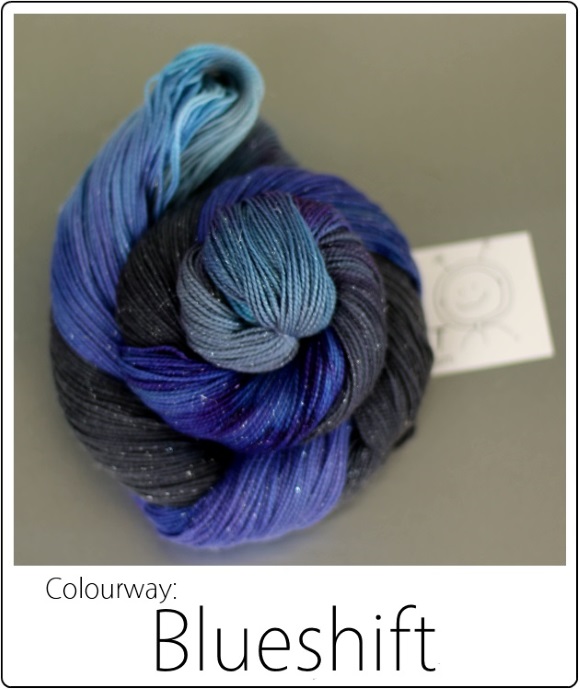
A Blueshift is a shift in the lines of an object’s spectrum toward the blue end, indicating that an object is moving toward the observer.
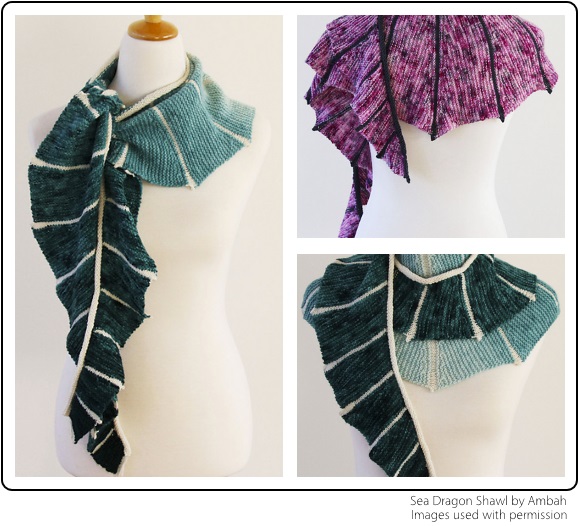
Blueshift is a stunning combination of blues, grays, and blacks that swirl and shift across the skein. Reminiscent of the deep night sky and available on three different bases, it creates a dramatic look for anything from shawls to cardigans to capes.

Spring Tide — Members’ Only Multicolour
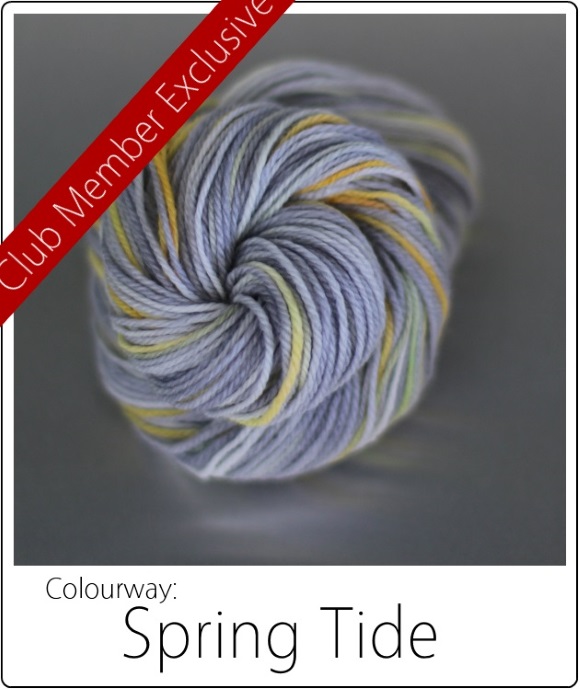
The Spring Tide occurs only when the Earth, Moon, and Sun are in a straight line
Dyed in sublime shades of soft grays spiked with sunbeam golds and oranges, which blend together to create touches of beautiful sea-greens. Available on three different bases.
(Where’s the order button? This colourway is exclusive to March Club members. If that’s you, look for an email arriving shortly with your members-only link!)
Aurora Polaris — A March Multicolour
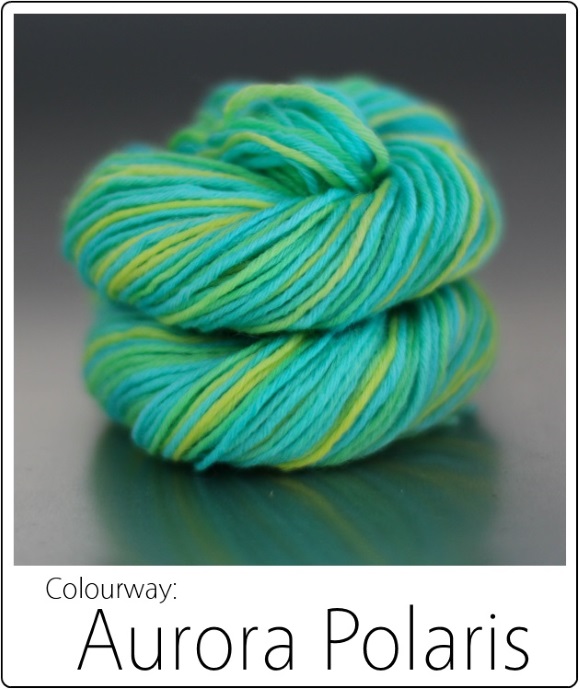
The Aurora Polaris is the aurora of the Northern Hemisphere, also known as the Northern Lights
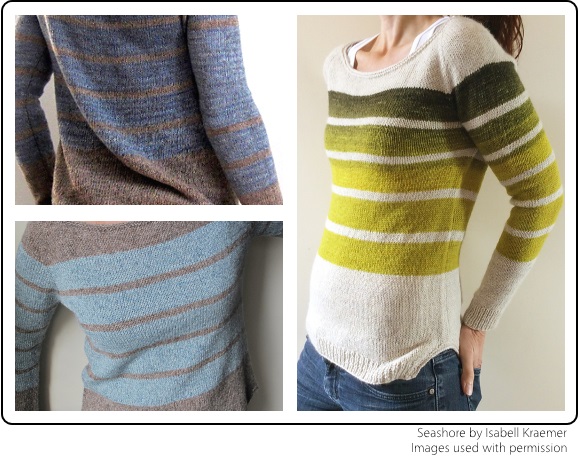
Drenched with the luminous greeny-blues and vibrant yellows of the Northern Lights, Aurora Polaris creates a colourplay that welcomes spring with abandon. Available on three different bases.
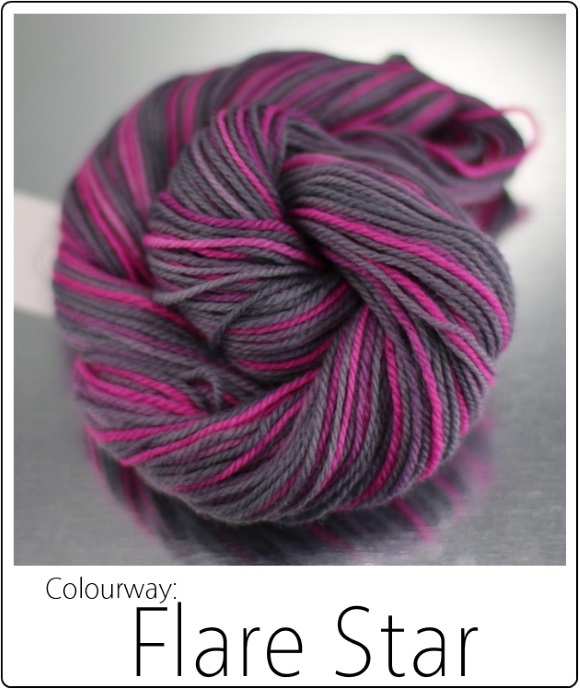
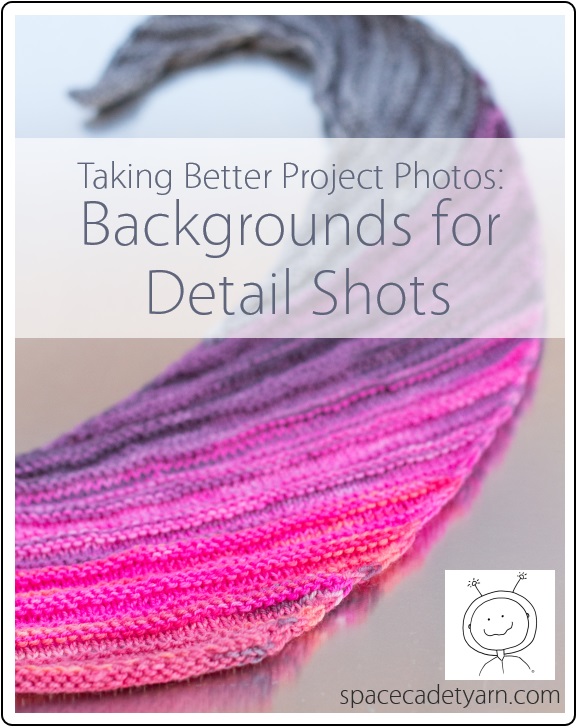
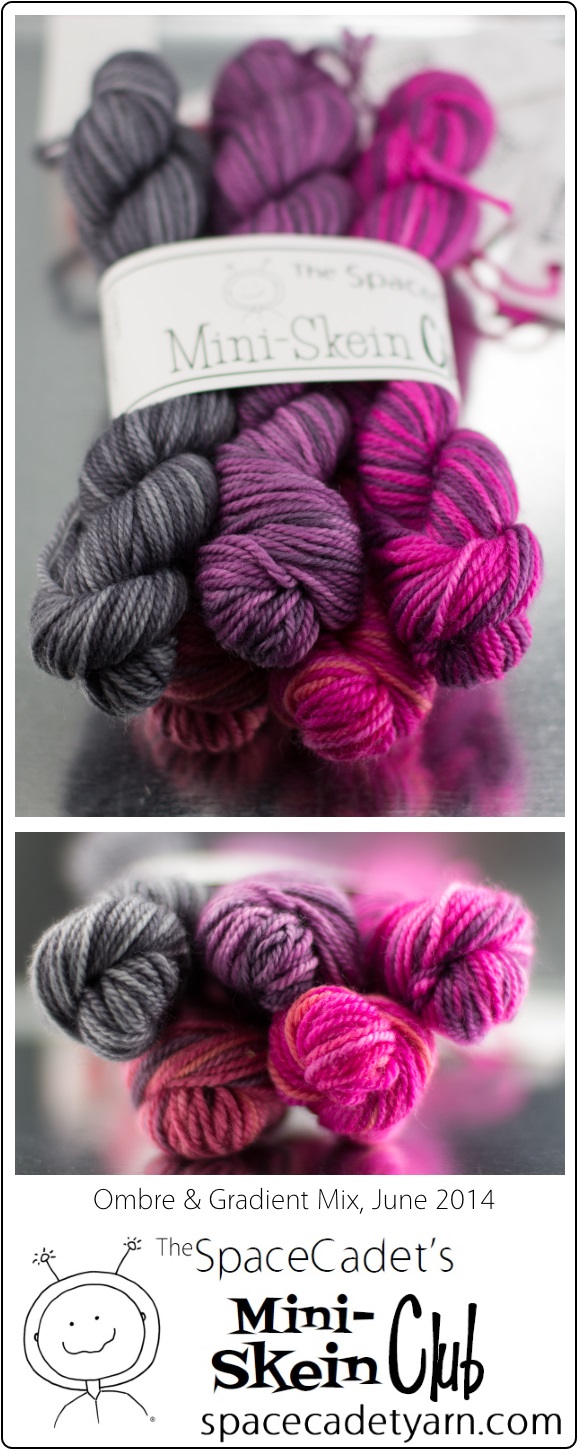
Blackberry Winter Gradient Sweater Kit
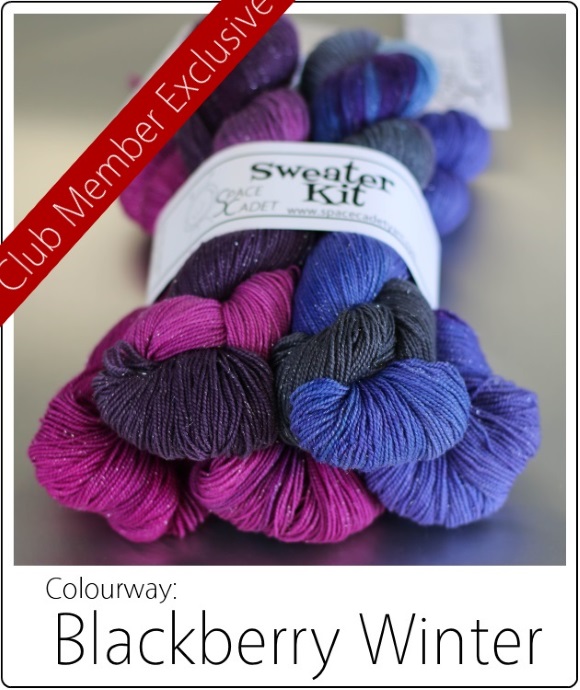
Blackberry winter refers to a cold snap that often occurs in late spring when the blackberries are in bloom.
This colourway moves from a deep lavender through vibrant raspberry before descending into a deep grays and blacks. Available on three different bases, it would be stunning in a full sweater, and equally beautiful paired with a contrasting colour for gradient stripes.
(Where’s the order button? This kit is exclusive to February Club members. If that’s you, look for an email arriving shortly with your members-only link!)
Here’s how it works:
If you are a member of the Club that month, you have access to all the colourways we are dyeing that month, including exclusive access to
The Full Gradient Mix as a Sweater Kit!
Each month, our gorgeous Gradient Mix is available as a full sweater kit exclusively to the Club members who received a bundle that month. If you’re in love with the Gradient Mix’s wonderful colour shift and are itching to use it in a larger project, you can order it as a breathtaking five-skein sweater kit.
One Multicolour Mix Colourway as a Club Member Exclusive
You know the Multicolour Mix is an explosion of colour! Each month, we pick our very favourite Multicolour Mix colourwayand make it available exclusively to our Club members who received a bundle that month.
If you’re not a member of the Club that month, you’re still in for a treat!
One Gradient Mix Colour in Full Skeins There’s always one colour out of the Gradient Mix that we pull out of the dyepots, gasp, and think, “I want a whole sweater in this colour!” Great news: we pick our favourite and offer it in full skeins to everyone!
One Multicolour Mix Colourway as Full Skeins Each month, the Multicolour Mix is an adventure in colour and we never know how many of its colourways we’re going fall head over heels for. We pick one that we really enjoyed dyeing and offer to dye you some more!
But you’ve gotta be fast! They’re available for two weeks only!
Because we’re always getting ready for the next month’s dyeing, these full skeins will be available for a very limited time — two weeks only — to allow us to get them dyed, prepped, and out to you as quickly as possible. So make sure you’re watching the blog or — even better — get on our mailing list so you never miss the release of new colourways!
What to get access to all the colourways next month? Join the Club!
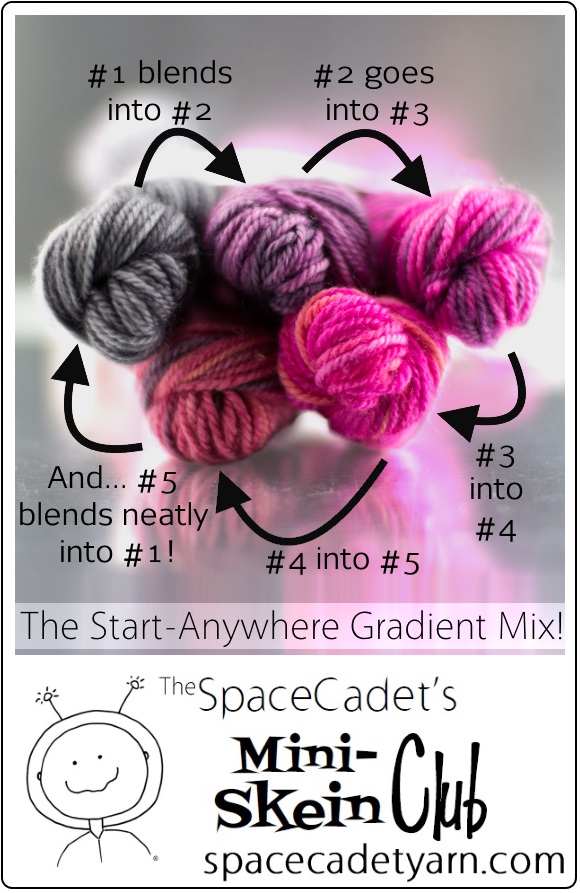
Working with mini-skeins is like drawing with yarn, and each little bundle of colour becomes a new and exciting addition to your palette! The SpaceCadet’s Mini-Skein Club is a wonderful way to discover all the amazing, creative things you can make with these gorgeous little skeins — delivered straight to your door! Click here to learn all about it.